Winterizing Your Sprinkler System in South Dakota: Why a Proper Blowout Matters
As the days get shorter and the State Fair winds down, every South Dakota homeowner with an irrigation system starts to hear a little voice in the back of their head. It whispers about frost, frozen ground, and the expensive sound of splitting plastic. That voice is telling you it’s time to think about winterizing your sprinkler system. It’s not the most glamorous part of lawn care, but ignoring it is one of the costliest gambles you can make with your property.
Why This Matters in South Dakota
Here in the Sioux Empire, we don’t do winter by halves. We’re squarely in USDA Hardiness Zone 4b, with some pockets of 5a, which is just a technical way of saying it gets profoundly, deeply cold. The frost line—the depth to which the ground freezes solid—can easily reach 36 to 48 inches. Our heavy clay soil, common around Sioux Falls and throughout eastern South Dakota, holds moisture exceptionally well. When that moisture-laden clay freezes, it heaves and shifts with incredible force. Any water left in your irrigation system doesn’t stand a chance.
An underground sprinkler system is a network of pipes, valves, and sprinkler heads buried just a few inches below the surface, well above that deep frost line. When water freezes, it expands by about 9% with a force of thousands of pounds per square inch. This isn’t a gentle nudge; it’s an unstoppable hydraulic press powered by Mother Nature. That expansion will crack rigid PVC pipe, split flexible polyethylene (poly) pipe, shatter sprinkler head bodies, and destroy expensive brass backflow prevention devices. The repeated freeze-thaw cycles we often see in late fall and early spring only make things worse, stressing components repeatedly until they fail. A proper fall blowout isn't just a good idea; it's essential insurance for your landscape investment.
Ice Is Stronger Than Your Pipes
It’s easy to underestimate the power of freezing water. We put plastic water bottles in the freezer and they just bulge a bit. Your irrigation system is not a water bottle. It’s a sealed, rigid system designed to hold water pressure, not ice expansion. When water turns to ice inside a pipe, it has nowhere to go. The pressure builds until something gives way, and it will never be the ice. We see the aftermath every spring, and it’s consistently messy and expensive.
Poly Pipe vs. PVC Pipe
Many systems in our area use one of two main types of pipe. You might have flexible black polyethylene pipe, often called "poly pipe," or rigid white PVC pipe. Homeowners sometimes assume that because poly pipe is flexible, it can handle a freeze. This is a dangerous myth. While it might survive one or two light freezes with a bit of luck, a hard, deep South Dakota freeze will split it just like any other material. The seam of the pipe often bursts open, creating a long, hidden tear that will pour water into the ground when you turn the system on in April.
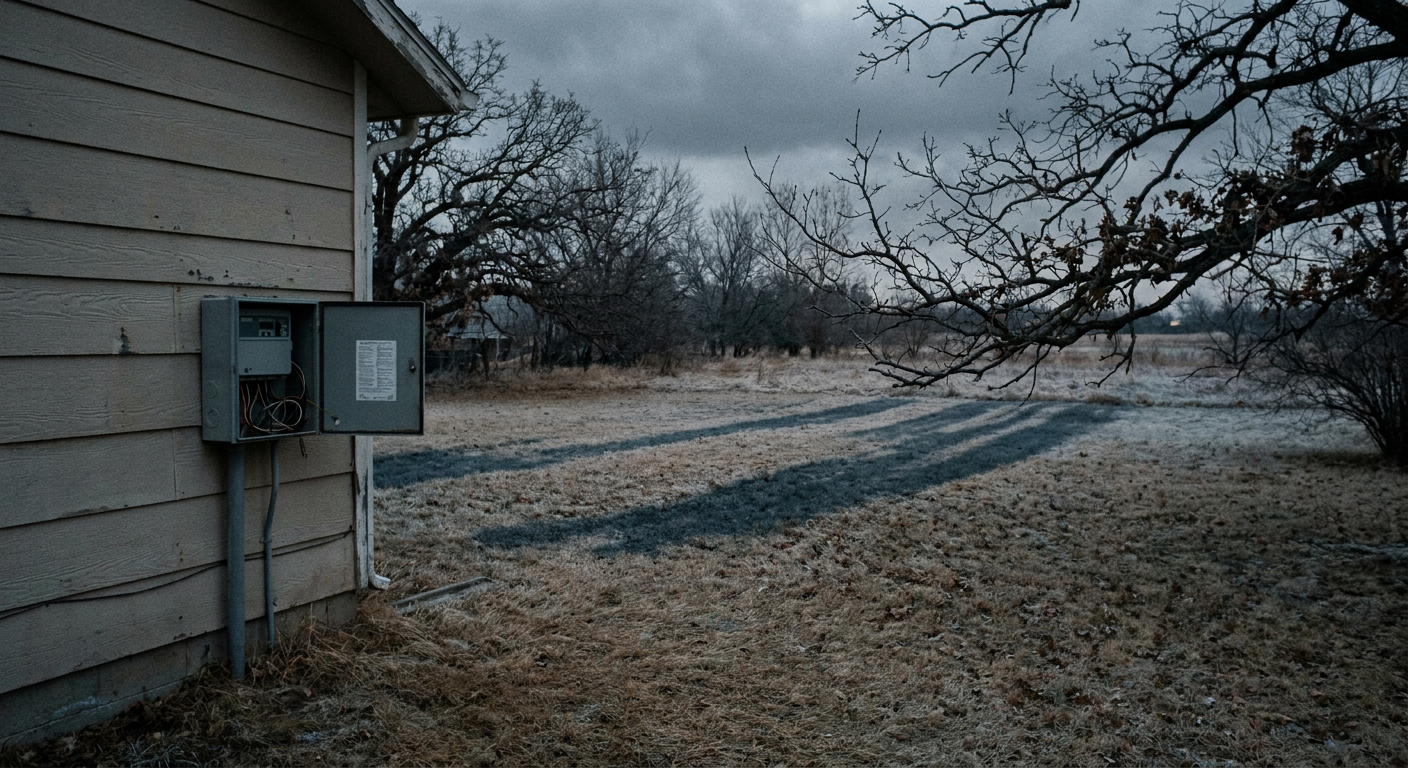
PVC pipe is even less forgiving. Being rigid, it doesn't flex at all. When ice expands inside it, the pipe simply cracks. These can be hairline fractures that are impossible to spot until you’ve got a geyser in your flower bed, or complete circular breaks at the fittings. The underground manifold, where all the zone valves are clustered together, is particularly vulnerable. It’s a complex assembly of pipes and fittings with many potential failure points, all hidden in a valve box underground. A frozen manifold is a complicated and costly repair. Sprinkler heads themselves are also prime casualties, as water trapped in the body of the head will freeze and crack the plastic housing from the inside out.
What 'Winterizing Your Sprinkler System' Actually Means
When we talk about winterizing your sprinkler system, we are talking about one specific, critical procedure: a compressed air blowout. The goal is to use a large volume of air, pushed at a low, safe pressure, to force every last drop of water out of the pipes, valves, and sprinkler heads. This is the only way to guarantee that the system is empty and safe from freeze damage. Simply draining the system using its drain valves is not enough. Due to the layout of the piping, low spots will always trap water, and it only takes a small amount of trapped water to cause a break.
The key to a successful blowout is understanding the equipment. This is not a job for a typical garage or "pancake" air compressor. Those small compressors are designed to deliver high pressure in short bursts for things like filling tires or running a nail gun. They do not produce the volume of air needed to do the job safely or effectively.
PSI vs. CFM: The Critical Difference
This is the single most important concept in a proper blowout. Getting it wrong can damage your system just as badly as letting it freeze. - PSI (Pounds per Square Inch) is a measure of pressure. Too much pressure is your enemy. Blasting a system with 100+ PSI from a small compressor can friction-burn the plastic pipes, damage the delicate seals inside your valves, or even blow sprinkler heads right off their risers. A professional will regulate the pressure down to a safe level, typically between 40-60 PSI, depending on the type of pipe and components in your system. We generally use a lower pressure for drip lines and zones with poly pipe, and a slightly higher—but still safe—pressure for zones with rigid PVC. - CFM (Cubic Feet per Minute) is a measure of air volume. This is what actually does the work. You need a high volume of air to create a continuous column that can push the "slug" of water through the entire length of a zone and out through the heads. A small compressor might cause a few heads to spit and sputter, but it lacks the CFM to clear the whole line, leaving water trapped in low spots. A professional uses a large, industrial compressor (usually trailer-mounted) that can produce 100 CFM or more. This provides the muscle to evacuate the water completely without resorting to dangerous levels of pressure.
The Professional Blowout: A Zone-by-Zone Approach
A proper, professional blowout is a methodical process. It’s not about just hooking up a hose and letting it rip. Each step is deliberate and designed to protect your irrigation investment. If you hire someone and they aren't following a process like this, you should be concerned.
First, we locate and shut off the main water supply valve for the irrigation system. This is usually in the basement or a crawlspace near where the water line exits the house. Forgetting this step is a rookie mistake that can lead to a very wet basement. Once the water is off, we connect the large-diameter air hose from our commercial compressor to your system's blowout port, which is typically located near the backflow preventer.
Before introducing any air, we go to your irrigation controller. We don't just turn everything on at once; that would diffuse the air pressure and fail to clear any single line effectively. Instead, we manually activate just one zone. With that zone's valve open, we return to the compressor and very slowly open our valve. You’ll hear a "whoosh" as air enters the pipes, followed by a surge of water clearing out of the sprinkler heads in that zone. We watch the heads carefully. At first, they'll gush water. Then, it will turn into a sputtering mix of air and water. Finally, they will blow a fine, powerful mist of atomized water, followed by mostly just air.
This is the critical moment. We let the zone run until it’s blowing mist, but we do not let it run dry for minutes on end. The high volume of air moving through dry plastic pipes can generate significant heat from friction, potentially melting or weakening fittings. Once the first zone is clear (usually in about two minutes), we shut off the air at the compressor, go back to the controller, shut off the first zone, and activate the next one. We repeat this exact process for every single zone in your yard, one by one, until the entire system is empty.
Don't Forget the Backflow Preventer and Drip Lines
The underground pipes are the main event, but a complete job of winterizing your sprinkler system involves paying attention to the more sensitive, above-ground components as well. The backflow preventer and any drip irrigation zones are two areas where corner-cutting can lead to expensive spring surprises.
Protecting Your Backflow Preventer
The backflow prevention device (that set of pipes and brass valves on the side of your house) is legally required and there for a very important reason: it prevents irrigation water from siphoning back into your home's drinking water supply. It's also one of the most expensive single components in your system, often costing $400 or more to replace. Its brass body is extremely susceptible to cracking from ice expansion.
After the air blowout is complete for all zones, the backflow device itself needs to be drained. A typical Pressure Vacuum Breaker (PVB) has two small test cocks and two larger ball valves. A professional will use a small screwdriver to open the test cocks to let any trapped water out. Then, they will leave the ball valves halfway open, at a 45-degree angle. This is crucial. If the valves are left fully open or fully closed, water can still get trapped in the small crevices of the ball mechanism itself. Leaving them at a 45-degree angle ensures there's room for any residual moisture to expand harmlessly. For added protection, wrapping the device in an insulating pouch or towel can provide an extra buffer against a sudden, early cold snap.
Winterizing Drip Irrigation
Drip lines, the small tubing that snakes through flower beds and garden boxes, also need to be winterized. Because the tubing is narrow and the emitters are small, they are especially prone to damage. However, you cannot blow them out with the same force as a turf zone. The high air volume and pressure needed for a grass zone can easily blow the small emitters right out of the tubing or even rupture the line itself.
The correct procedure for winterizing drip lines is to use a much lower pressure setting on the compressor, typically no more than 30-40 PSI. We run the air through for a shorter period, just long enough to see air and mist coming from the ends of the lines or the emitters. Some systems may have a flush valve or a cap at the end of the drip line that can be opened to allow for a more thorough and gentle flush. Skipping drip lines is a common mistake that leads to dozens of tiny, hidden leaks come springtime, starving your plants of water and wasting money.
The South Dakota Scheduling Window
In our climate, timing is everything. You don't want to shut your system down in early September when we could still have a string of hot, dry weeks where your lawn needs water. But you absolutely cannot wait until the ground is frozen. The ideal window for winterizing your sprinkler system in the Sioux Falls area is generally from the last week of September through the third week of October.
Our average first frost date is around October 1st, but a light frost on the grass doesn't mean the ground is frozen. The soil retains warmth for several more weeks. However, by mid-to-late October, the risk of a "hard freeze"—where temperatures drop well into the 20s for several hours—increases dramatically. This is when the soil begins to freeze at the surface and damage can occur.
Be warned: this is the busiest time of year for every irrigation contractor in the Sioux Empire. Everyone remembers they need a blowout at the same time, usually after the first cold weather forecast. Don't wait until the last minute. The best practice is to get on a contractor's schedule in early September for a late September or early October appointment. This ensures you get the work done before the weather turns for good and you aren't scrambling to find someone with an opening. Once the system is winterized, it's done for the season. Do not, under any circumstances, turn the water back on "just for one more watering."
A Cracked Pipe Story: The Cost of Skipping a Blowout
We tell this story every spring. A homeowner decides to save a little money and skip the fall blowout. Maybe they had a mild winter the year before and got away with it. Maybe they just forgot. Come April, they turn on their system, excited for a green lawn. They hear the water start to run... and keep running. Inside, the water meter is spinning like a top. Outside, a strange bubbling starts in the middle of the lawn, which quickly turns into a soft, mushy spot. They've discovered a cracked pipe the hard way.
This isn't a rare occurrence; it's the predictable outcome of ice in a pipe. The repair costs can be staggering, especially when compared to the modest cost of a preventative blowout. - A professional blowout: For a typical residential property in Sioux Falls, this service usually costs between $75 and $150. It takes less than an hour. - Repairing a single cracked pipe underground: This involves locating the leak, digging up a section of sod and soil, cutting out the damaged section, cementing new fittings and pipe, testing it, backfilling the hole, and repairing the lawn. This can easily cost $300-$500. - Repairing a cracked valve manifold: This is a much more complex repair in a tight space, involving multiple valves. Expect to pay $600-$1,200 or more. - Replacing a frozen backflow preventer: As mentioned, this is a very expensive part. Including labor, a full replacement often runs from $500 to $800.
One winter of neglect can easily lead to a repair bill that is ten times the cost of the preventative service. Winterizing your sprinkler system is not an expense; it is a calculated, high-return investment in avoiding much larger expenses down the road.
DIY Blowout? A Word of Caution
We respect the do-it-yourself spirit. But this is one job where we strongly advise caution. The primary reason comes back to the compressor. Your home compressor, even a larger 30-gallon one, is almost certainly not up to the task. It may put out 150 PSI, but it likely only generates 4-6 CFM. A professional rig generates 100-185 CFM. Using an underpowered compressor is ineffective and risky. You are likely to leave water in the lines—creating a false sense of security—while the high pressure you're using can damage components.
There's also a significant safety risk. Compressed air is dangerous. If a fitting fails under pressure or a hose comes loose, it can whip around with incredible force, causing serious injury. Without the proper fittings, knowledge of safe operating pressures, and experience, a DIY blowout can quickly go wrong. Renting a commercial-grade compressor is an option, but the rental cost for a single afternoon is often more than the cost of hiring an experienced, insured professional to do the job for you. When you factor in the time, risk, and cost, hiring a pro is almost always the more practical choice.
Questions to Ask Your Irrigation Contractor
Not all blowout services are created equal. When you call a company, you should feel confident they know exactly what they’re doing. Here are a few questions you can ask to vet a potential contractor and ensure they're taking the right approach to winterizing your sprinkler system.
- What size and type of air compressor do you use? You're listening for a CFM rating. If they say "a big one" or don't know the specs, it's a red flag. The answer should be something like "a 185 CFM tow-behind compressor."
- What pressure do you set for blowing out the zones? This shows they understand the PSI vs. CFM principle. A good answer would be, "It depends on the system, but we regulate it between 40 and 60 PSI, lower for drip lines."
- Are you licensed and insured for this work? This is non-negotiable. If their equipment damages your property, you need to know you're covered.
- Does your service include winterizing the backflow preventer? The answer must be yes. Ask them to describe their process (opening test cocks, setting ball valves to 45 degrees).
- How do you handle the controller? A professional will either unplug it or turn it to the "off" or "rain" setting to prevent it from trying to run a dry system all winter, which can damage the zone solenoids.
When to Call a Pro
Unless you are an irrigation professional yourself or happen to own a commercial-grade, high-CFM air compressor and understand all the safety protocols, this is a job to outsource. The financial risk of doing it incorrectly (or not at all) is simply too high. A professional service is quick, safe, and guarantees that your system is protected from our harsh South Dakota winters. It's the peace of mind that when you turn your system on in the spring, it will work as intended, without any nasty, expensive surprises buried under your lawn.
The Bottom Line
Your irrigation system is a valuable asset that adds convenience and value to your home. Here in eastern South Dakota, protecting that asset through the winter isn't optional. A professional compressed air blowout is the only reliable method to prevent freeze damage. It’s a small, predictable annual cost that protects you from unpredictable and potentially massive repair bills. Don't gamble with a South Dakota winter; it's a bet you're likely to lose.